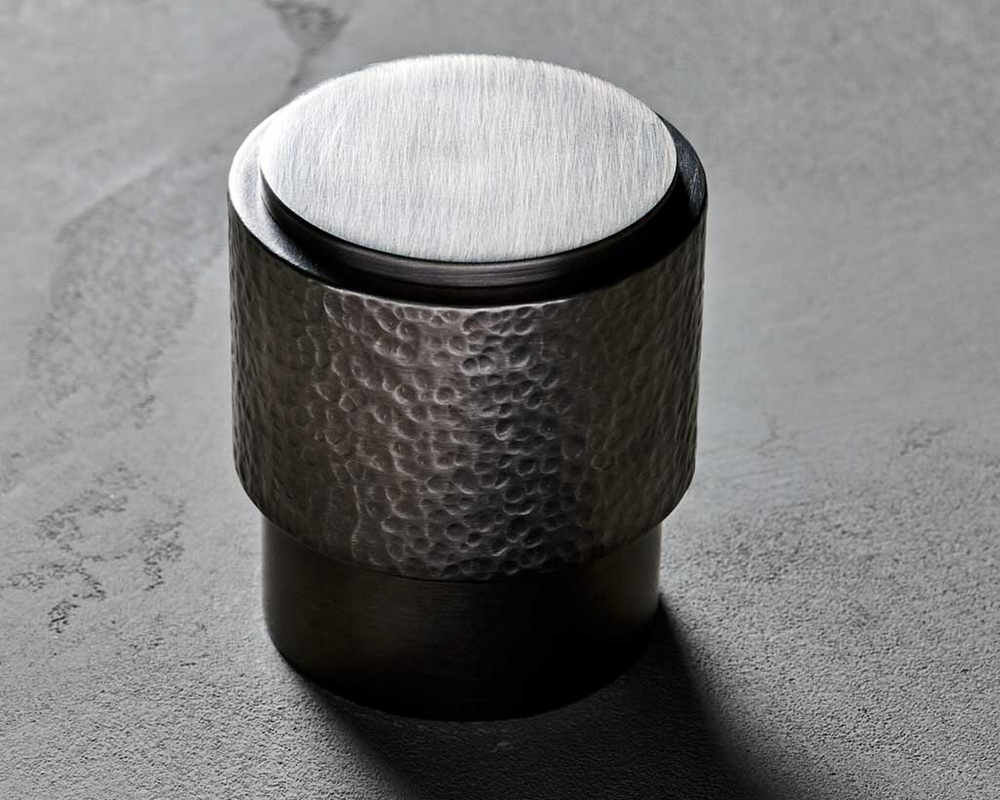
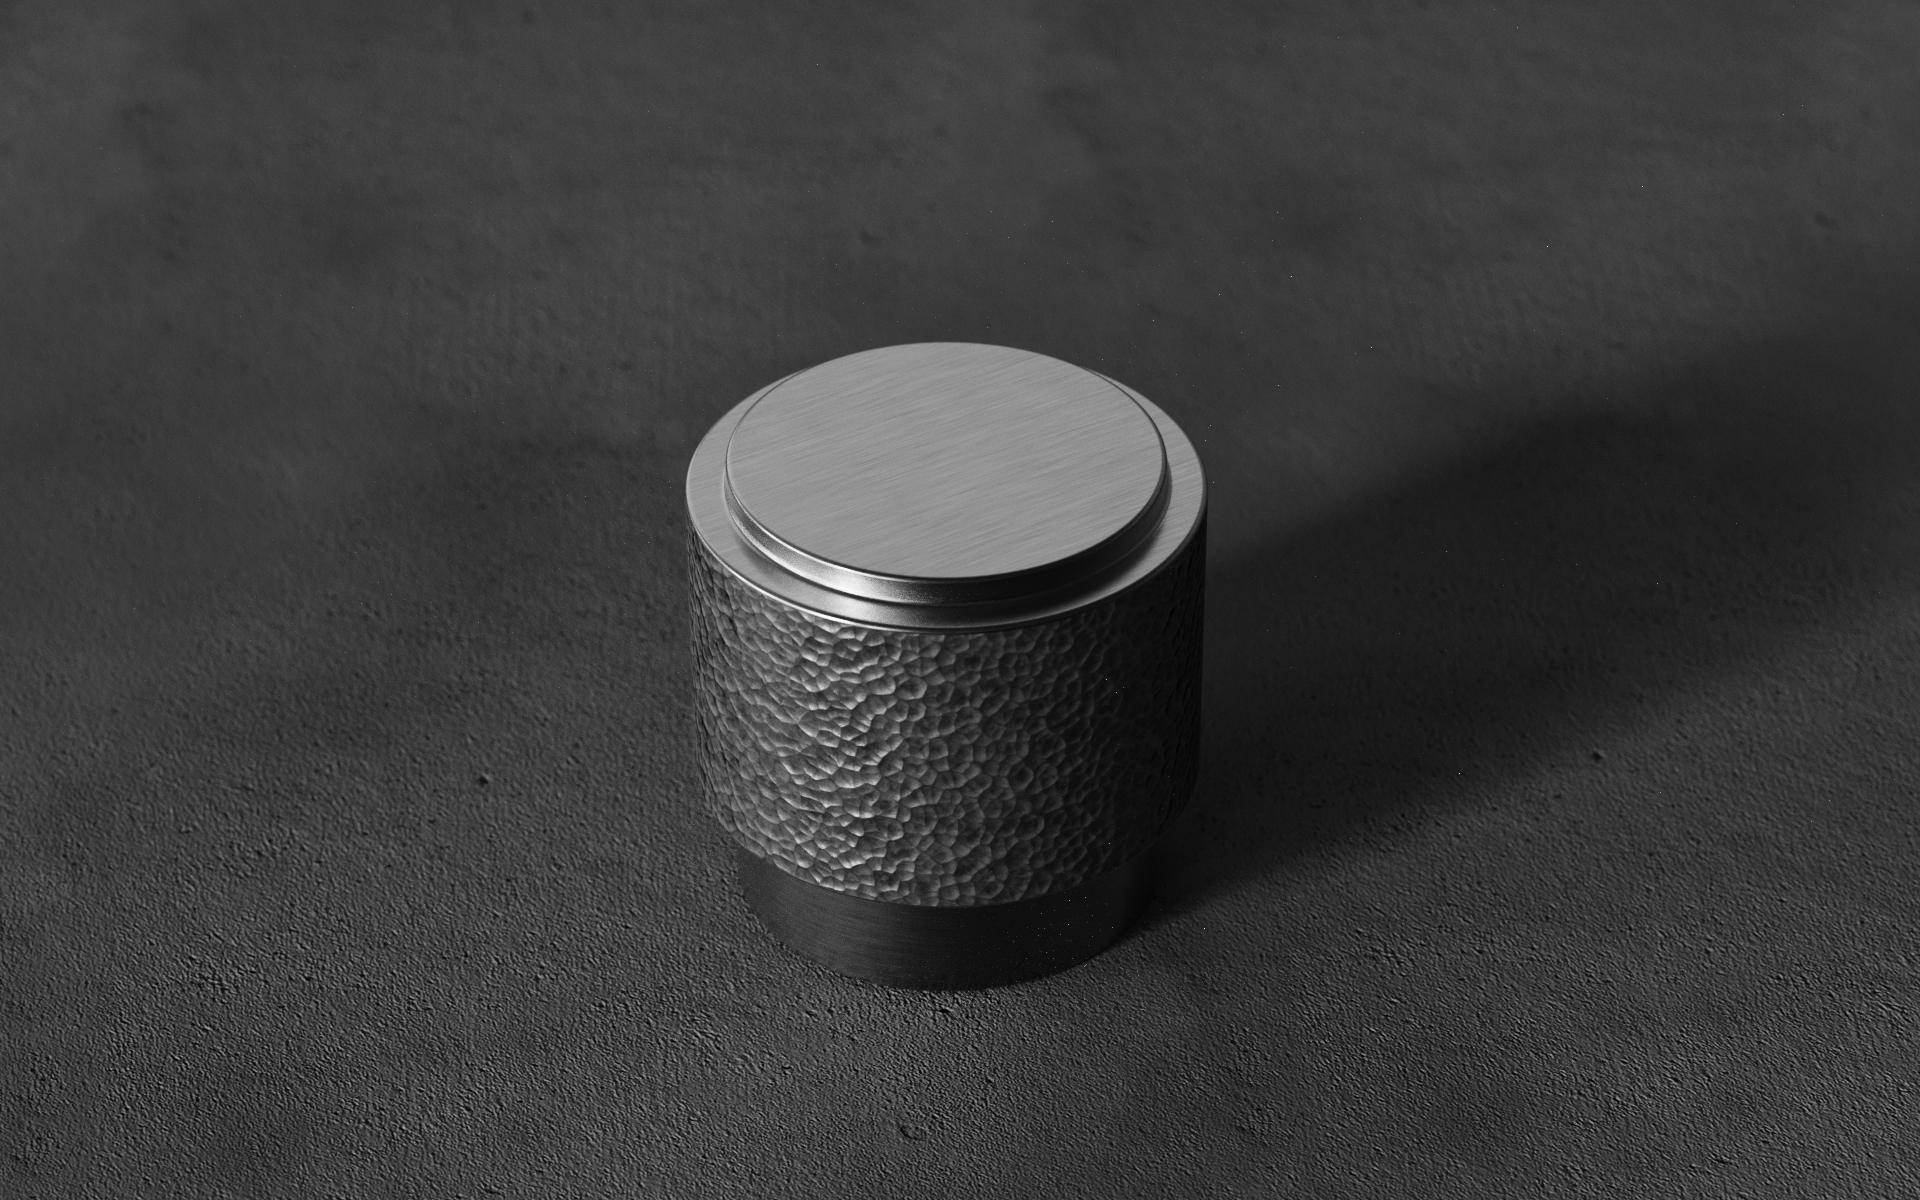
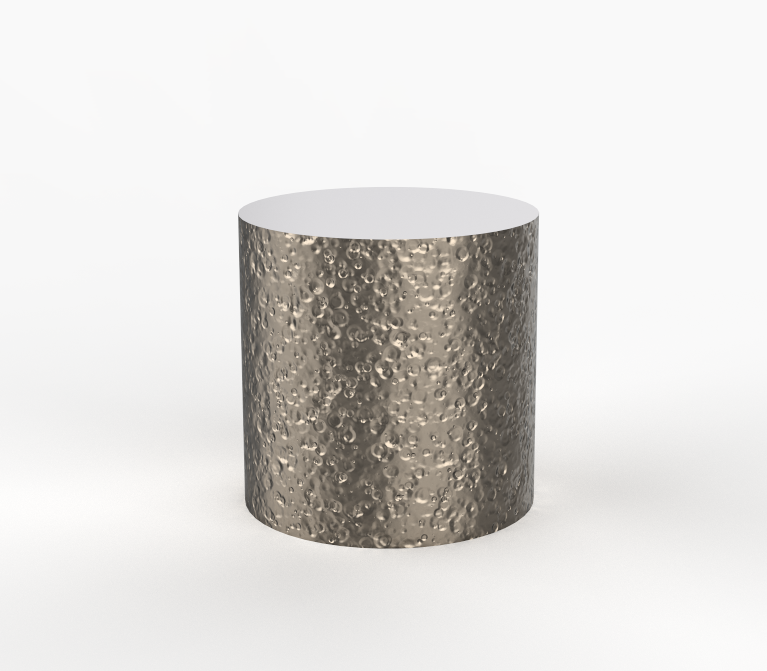
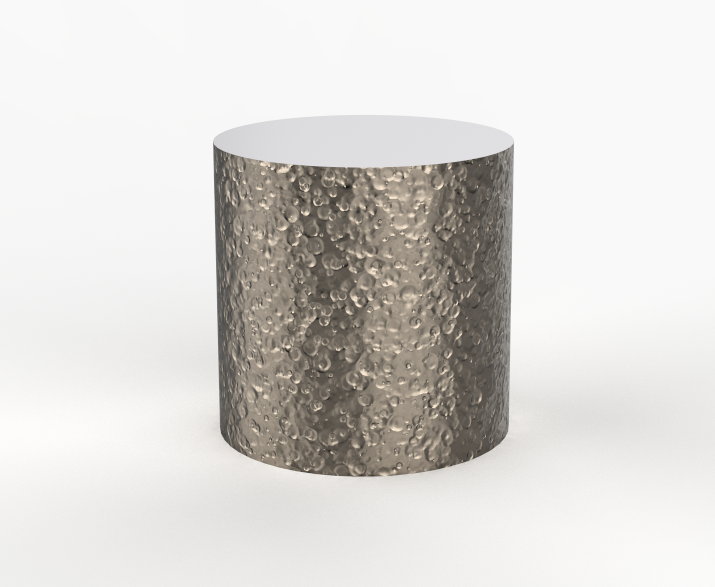
The image 01 is the reference that I found from the internet, I think it is beautiful, and the second is the image that I render referencing image 01, what do you think about it, or have any idea that makes it better? Thanks!
P.S: I think My rendering is too clean to feel it is realistic
I think the biggest issue is with the textures scale so the dents are too small. And the fact it’s too nicely paced and has too sharp edges on the bump.
Like in the reference picture you see the dents are not equal, some places have no dents and they are more rounded with also rounded edges. Looks like it’s made by hand. If you’ve used a procedural texture I would make it more fuzzy, larger and combine it with for example big noise or scratches procedural so you’ve also places with less strong dents.
1 Like
Image looks great as it it. I think if you’re going for a complete replication @oscar.rottinks comments will help get you there. The brushed section on the side of the top should follow the same as the bottom, remove the brushed section on the second to top upright facing section.
The difficulty you also have is with the hammered bump, you still get a really clean edge where the face changes, where as on your photo you can see how the hammered edge means you don’t get that perfectly circular ring where it meets the next face. So, if you can use it as a displacement that will certainly help.
1 Like
But the problem is normal map can’t be used as displacement directly
I wouldn’t use displacement for such fine structure. Don’t think it adds anything besides a lot of geometry which wouldn’t look too nice on an object like this.
I’m currently fighting some hardware issues here but if I’ve some time I’ll try to see what you could do without any displacement.
I once did a feature request about having a ‘blur’ slider on all texture nodes properties. With a tiny bit of blur I think the hammered part would already look a lot more realistic.
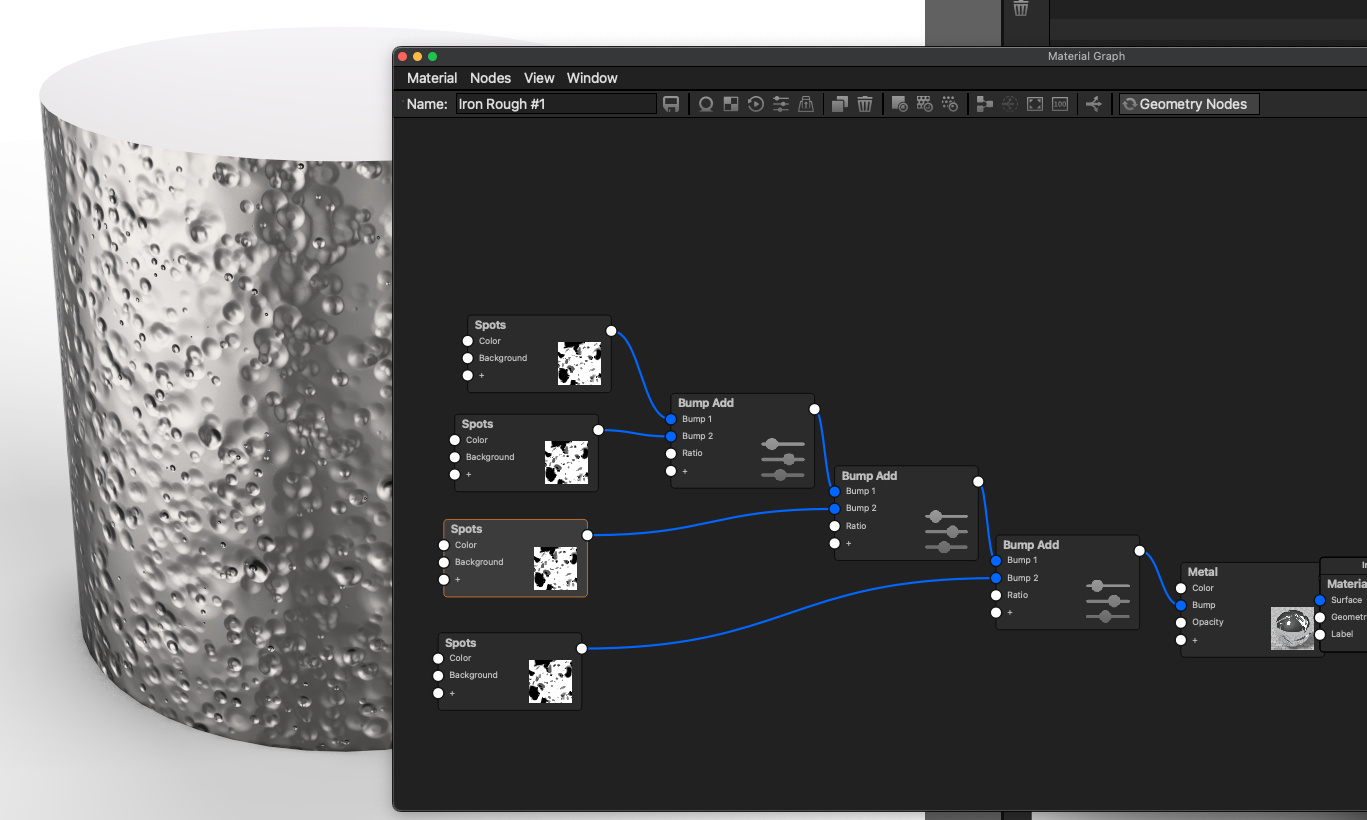
I think, by combining a few levels of spots with different depths and slight variations of scale, falloff, radius,
and density you can get something close to reference.
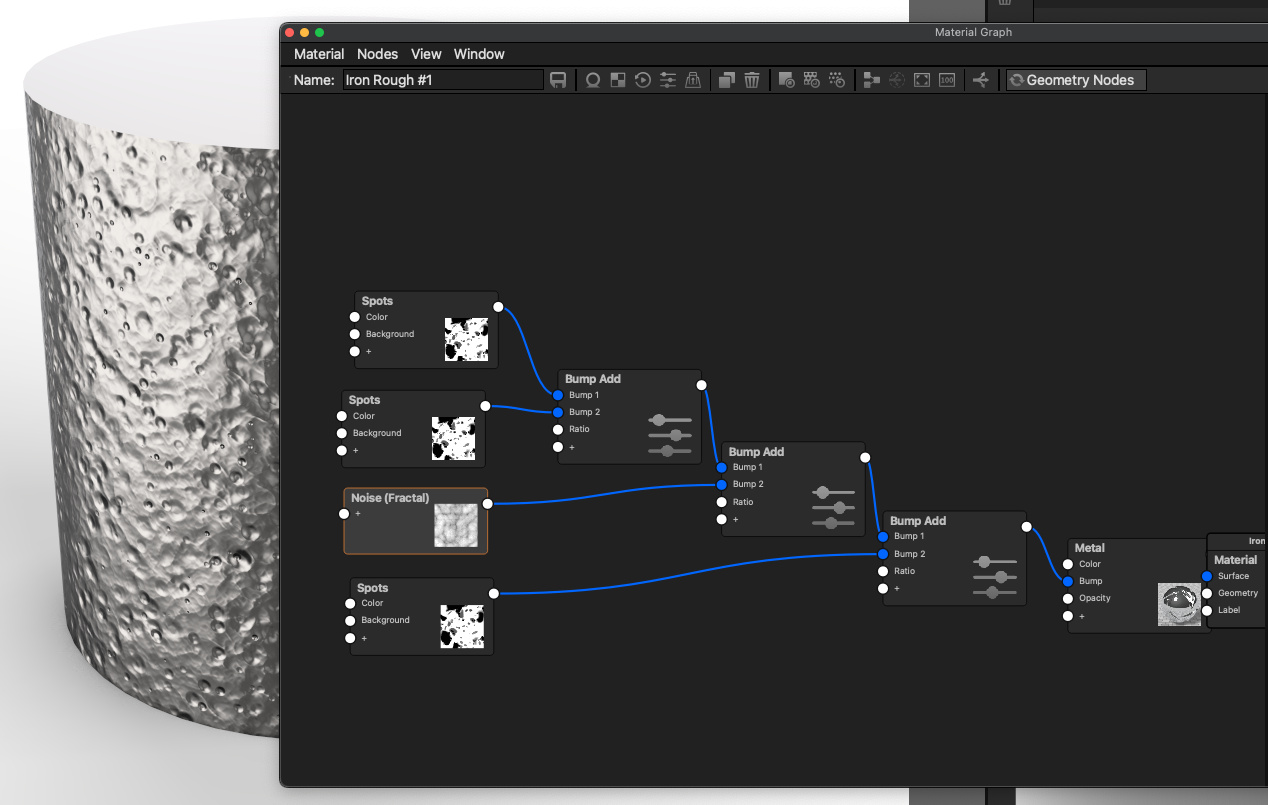
…and mixing in some fractal noise could improve it a bit too:
1 Like
If you would blur/use falloff the sharpest one this will look nice I think especially with some different lighting, not sure what the English word is… google translate later… grazing light 
1 Like
With a little tuning of above:
…and adding roughness variation:
2 Likes
Wonderful, I’ve been busy with my company’s work, not replying immediately, I’ll try it later on, thanks for your nice and detailed explanation
I don’t understand what you mean aboutl blur slide, where is it, thanks for your patient answer
Well I often need a blurred version of a texture. Like a slightly blurred version of an alpha map I already use for a label to be used as bump for example. Or to blur the procedural image a bit more than you can do with just a ‘falloff’.
So I think it would be helpful if every texture node also had a slider to blur an image as well. Like you can change the contrast/value or an item it would also nice to have a blur/sharpen slider for example. Would save a lot of time in blurring textures in Photoshop and having those as separate files.
With this example of your render I think the hammering is too sharp, if you would have a blur slider you could easily experiment what would happen if you applied a bit of blur, I think it would look more realistic.
1 Like